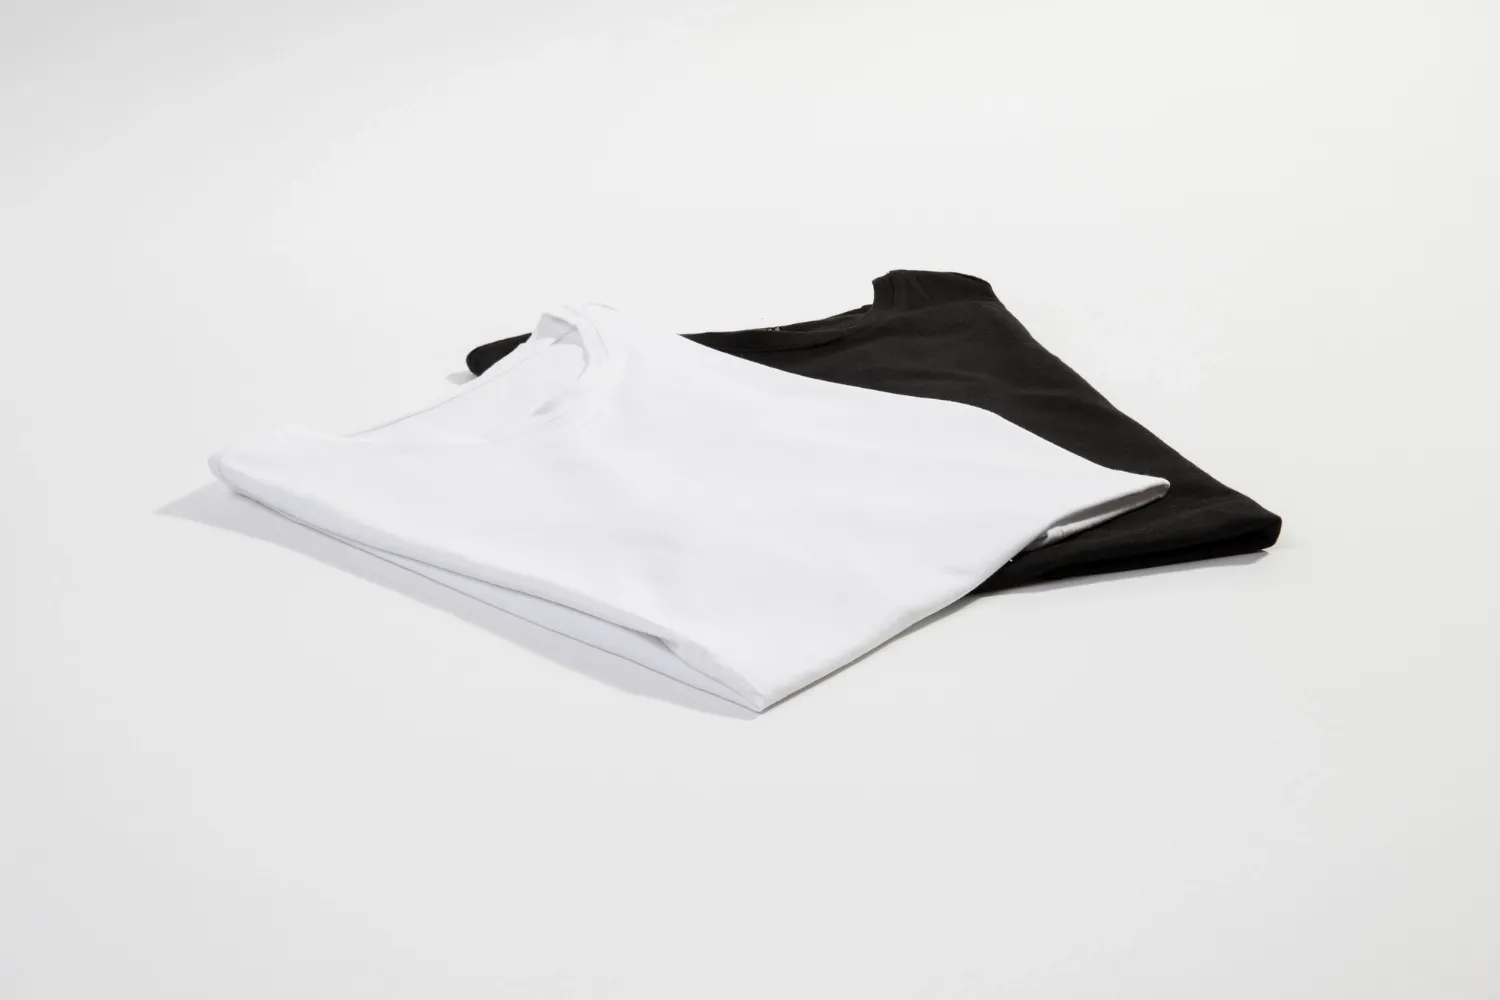
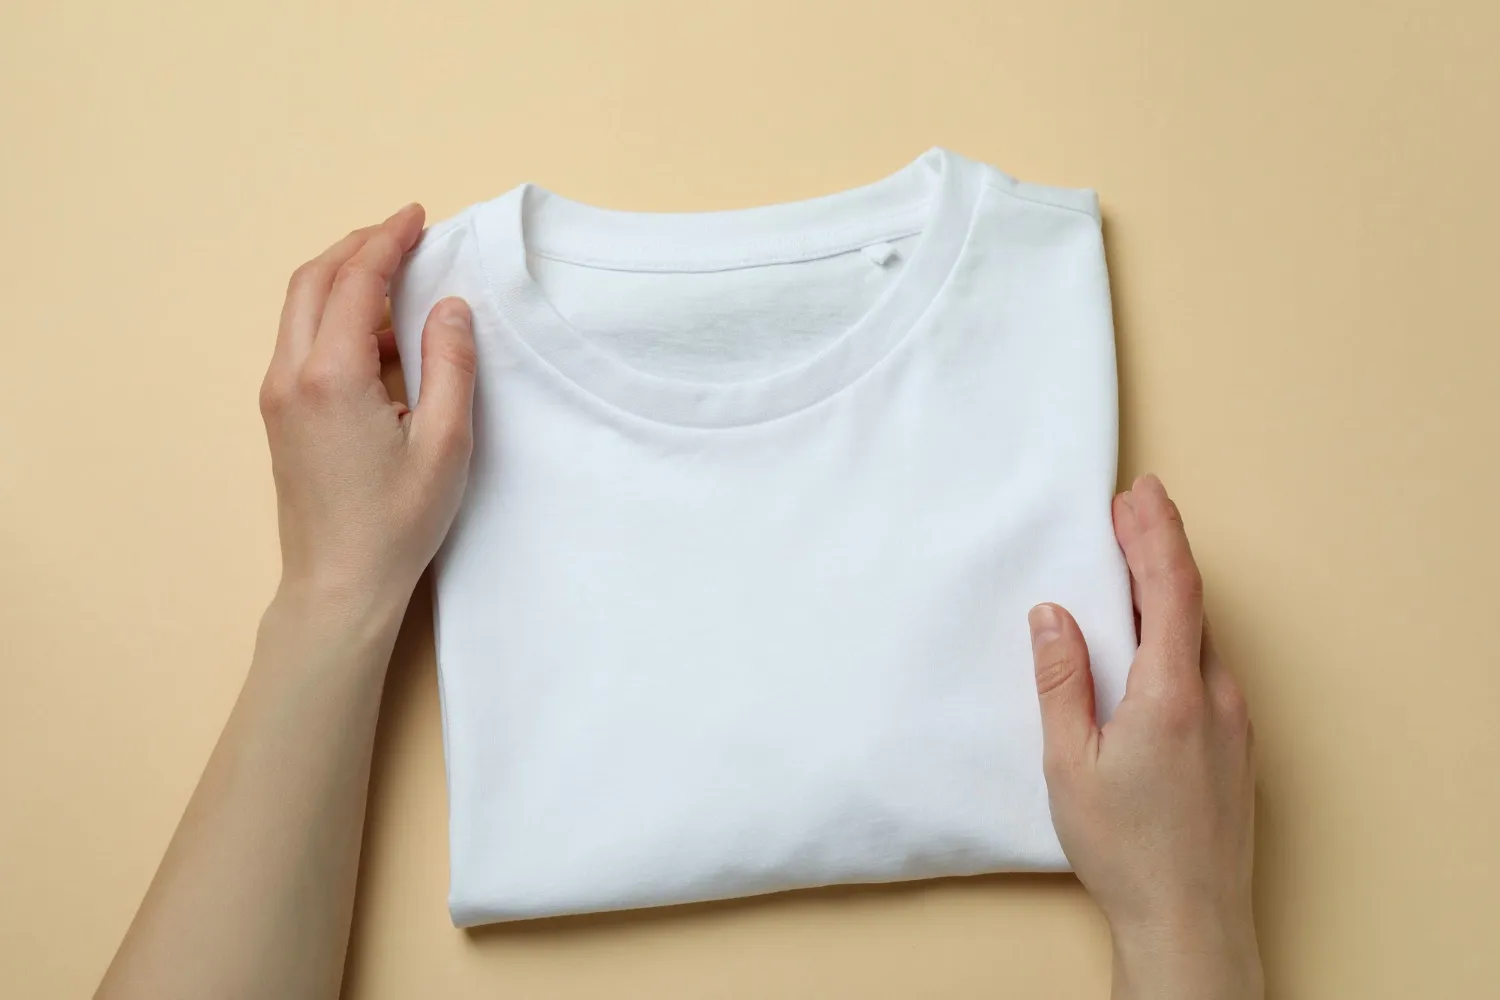
How to Fold T-Shirts for Drawers
It seems like it should be the simplest thing in the world – fold a t-shirt into a nice little bundle so it can sit nicely in your drawer. The problem is that every time you take one of your folded t-shirts out, it’s covered in creases and wrinkles that force you to get the iron out to flatten it back down.
So, you need to know how to fold a shirt.
But more specifically, you need to know how to fold it so it slots nicely into a drawer without you having to worry about unsightly creases forming over time.

Technique 1 - The File Folding Method
Yes, that mention of “Technique 1” means there’s more than one answer to the question of how to fold a shirt. The file folding method – sometimes called the “vertical method” – is ideal for turning your large shirts into small cuboids that slot easily into a drawer:
- Lay the t-shirt on a flat surface before folding one side of it into the center along a vertical axis.
- Fold the sleeve of the folded side back, creating a straight line down the middle of the shirt.
- Repeat the above two steps with the other side of the shirt, giving you a nice and clean rectangle.
- Fold the shirt in half horizontally, stopping about two inches from the bottom of the garment.
- Fold the shirt in half again – or in thirds if it’s an especially long shirt – to create a compact square.
- Stand the shirt upright and place it in your drawer.
The key to this method is to treat your drawer like a filing cabinet. Having several shirts stacked vertically against one another helps to keep them in place without placing weight on the folded shirt, which could lead to wrinkles.
Technique 2 - Roll the Shirt
Rolling your shirt is very similar to folding it vertically, with the key difference being that you roll rather than fold at a key point during the process. Here’s how to fold a shirt if you’d prefer to roll:
- Place the shirt on a flat surface and fold both sides to the center, tucking the sleeves back, as you did during the file folding method.
- Starting from the bottom of the shirt, create semi-loose rolls until you reach the top.
- Place the shirt in your drawer, making sure not to put any weight on top of it.
The rolling method results in fewer creases because you’re not actively folding the shirt. You’ll also get a more compact bundle, assuming you roll fairly tightly, making this method suitable both for storing t-shirts in drawers and placing them in your luggage.

Technique 3 - Folding Long-Sleeved Shirts
Long-sleeved shirts present a different challenge because you’re not only worrying about creases in the shirt’s center – the sleeves can also develop wrinkles. Thankfully, the method is still similar to file folding, with one slight variation when you get to the sleeves.
- Lay the shirt flat with both sleeves extended.
- Fold one side into the center, holding the sleeve as you do, before placing the sleeve so it lies parallel to the folded part of the shirt.
- Fold the other side of the shirt using the same technique, leaving you with both sleeves lying flat against the shirt.
- Place one of the sleeves slightly over the other, creating an overlap in the center.
- Either fold the shirt in halves or thirds, as in the file method, or roll it if you wish to conserve more space, making sure to start from the bottom in either case so you can control the sleeve cuffs.
Overlapping the sleeves gives you more control over your folds. It ensures that neither of the sleeves gets loose and becomes creased under the weight of your t-shirt.

Technique 4 - The University of California Robot Fold
This final technique comes from research conducted at the University of California that involved researchers asking a robot how to fold a shirt. In truth, it’s another variation of the file fold, only with a slightly different approach taken to the sleeves.
- Place your shirt on a flat surface and fold one of the sleeves inward via the armpit seam.
- Staying with the same side, fold the shirt lengthwise to the center.
- Switch to the other side and repeat the first two steps, first folding the sleeve via the armpit sleeve before folding the shirt lengthwise.
- Fold the bottom of the shirt up to the top, creating a small square.
- Smooth out your square and place it in your drawer.
By folding the sleeves using the armpit seams, you’re matching the natural folding pattern of the shirt rather than creating the risk of the sleeve folding in unexpected places when you roll or fold it into a square. Interestingly, this method stops short of the extra rolls after you fold in half horizontally, leaving you with a larger bundle than you get with the other methods.
Fold Without Fear of Creases and Wrinkles
You now know how to fold a shirt so that it’ll slot nicely into your drawer without wrinkling. There’s one more tip to consider, which applies to all of the above methods – always place your shirt printed side down if it features a printed pattern. This ensures the folds in the print are as large as possible, reducing the risk of cracks forming.
With folding sorted out, there’s just one thing left to do – buy customized shirts that feature any design you want on them. That’s where Custom T-Shirt Today comes in. No matter what design you want printed onto your shirt, we can make it happen with a simple six-step online ordering process.